I've been meaning to post this for a few days, but I've kept myself busy trying to go through and do a bit of spring
So, to take a little break, I figured I would go ahead and type out this tutorial for anyone who may be interested =)
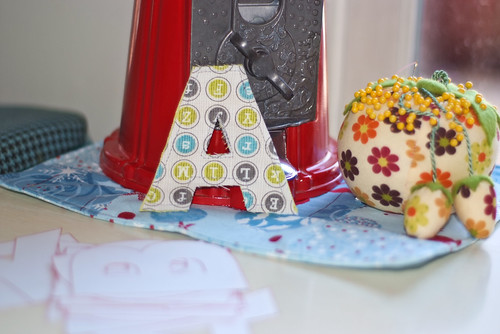
What're we making?

What you need:
Printed Alphabet (If you use my templates you will need 7 sheets of printer paper)
- Download the PDF HERE
Pins
Scissors (Fabric and paper)
Some sort of stabilizer like:
- Batting
- Interfacing
- Felt
Exacto-knife
Magnets (Small to put inside the letters before closing them all the way up!)
Now, let's get started!
Step 1.
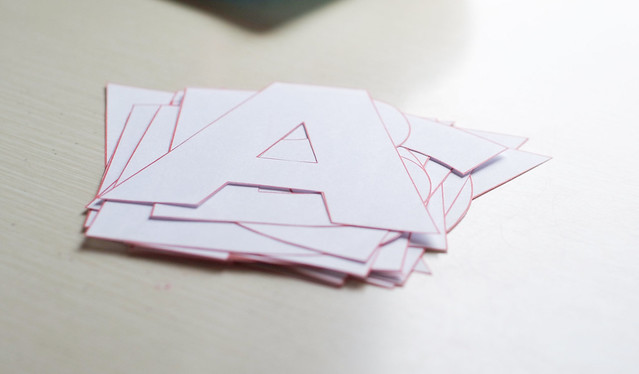
- Print and Cut out your alphabet templates.
- I recommend using an Exacto-knife to cut out the centers of the letters or those hard to reach with scissors places =)
Step 2.
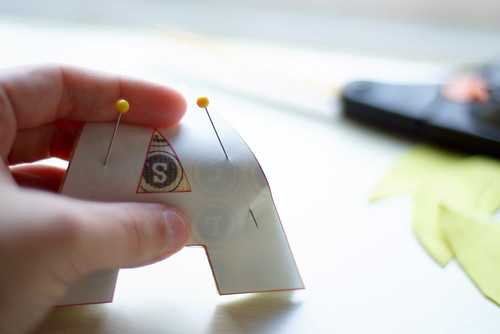
- Using the paper templates you just cut out you'll start cutting out your letters. You'll choose a front fabric and back. I cut mine out at the same time just remember to place the backing fabric right side down and the front fabric right side up and your letter on top of those pieces.

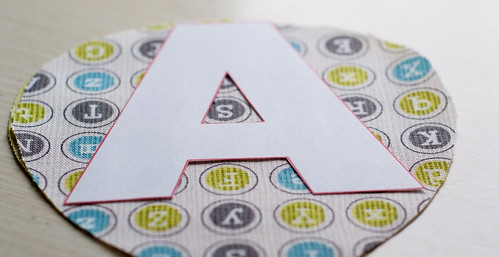
- Please note that with this step if you'd like your letters to have felt as backing so that they can be used on a felt board you would be cutting the felt as the backing fabric!
- Pin your templates in place so that they (and the fabric) don't wiggle around as you cut them out.
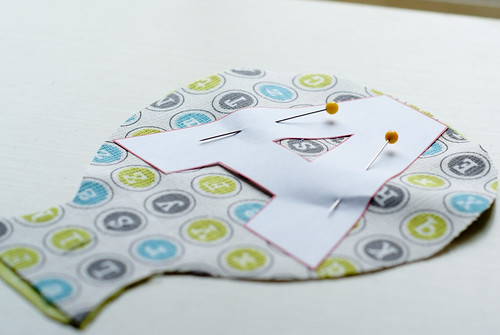
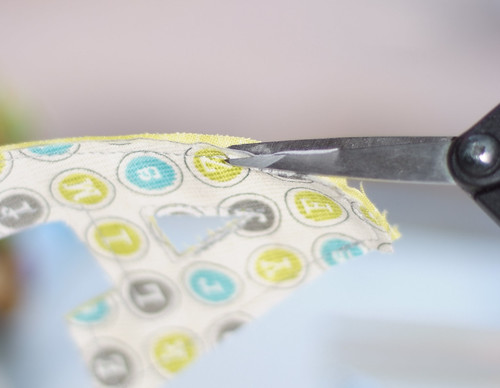
- I recommend that you cut the main shape out with a large pair of fabric scissors and then a small pair for the inside details.
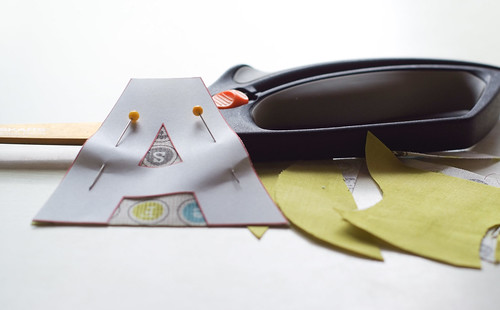

(I LOVE THESE!!!!)
If you fold the letter a little bit and use the tips of the small scissors to start a small hole to get in there it makes a world of difference =)

Voila!
- Now you'll need to cut out your interfacing letter as well (or batting, whatever you prefer to use as the inside to make it a little more sturdy!) I trace my letter in pen straight onto my interfacing so that I can cut it out without worrying about my template.

- Once you have it traced or pinned to the interfacing(or batting) cut out your letter.
Step 3.
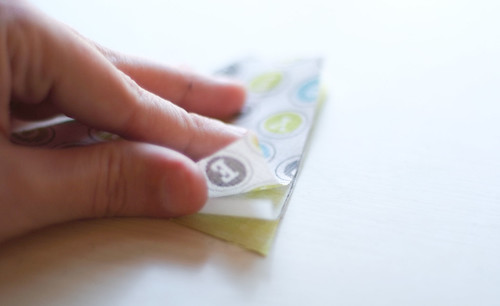
- Stack your letter cut outs with back fabric facing right side down then your interfacing(or batting) and then top the sandwich with the top fabric facing right side up. (You're pretty much making a mini quilt here lol if that makes more sense!)
Step 4.
- Pin if you feel the need and then sew a very scant 1/4 inch seam around the entire edge of the letter.

(Pivot at the corners!!!)
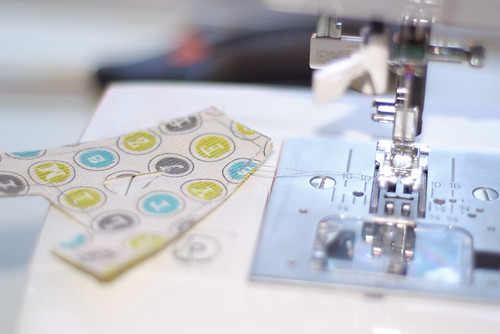
- Once you have the outsides of the letter sewn together move onto the inside details. So for the A, you'll sew around the inside triangle =) (Sorry I forgot to get a picture of that step lol)
- Trim the interfacing or batting if you prefer. I used my small scissors(see I really do love them!) to trim away the excess because I was afraid with my daughter's tiny hands she might get a paper cut from it. So, just keep that in mind =)
Step 6.
- Enjoy your lovely little fabric letter and then move on to the next one =)
And forgive me as this is my first tutorial. I wanted a set of letters for my daughter to play with that weren't the cheapo plastic magnetic ones you can find. I love this alternative, and I think she does, too! So, do you prefer less photos or is this an okay amount? And are the steps detailed enough? Give me feedback and maybe I'll do more =)
4 comments:
looks like a great tute! if i had the patience to get through 26 letters, i might make some for this baby ;-P
They go together really quick, Joelle, I promise =)
Fun! I bet your little one likes playing with them.
I really like these. My daughter and I made a book of paper letters I cut out of textured Ralph Lauren paint chips so she can run her hands over them. It took us a long time with me cutting and her gluing.
I love my little Fiscars, too.
Post a Comment